Visual Testing in Next.js with Percy and Cypress

While continuing to develop your frontend user interfaces, it's imperative to know that new changes you are making are not causing unwanted side-effects in other areas of your application. However, doing QA on the entirety of your application every time a PR is merged can become extremely time consuming. This is where visual testing can help. These tests take snapshots of your application, and then compare them against a base set of snapshots, alerting you to any changes.
Today, Next.js is a common choice for building both frontend user interfaces and full stack applications. This blog post will go over how to add visual testing into your Next.js app using Percy and Cypress.
Setup Percy
Percy is a powerful tool for integrating visual testing into your application. It is responsible for capturing snapshots of your application, comparing them against the baseline and highlighting any visual changes to you. Follow the steps below to setup Percy.
- Make an account at Percy.io, the free tier gives you 5,000 snapshots per month.
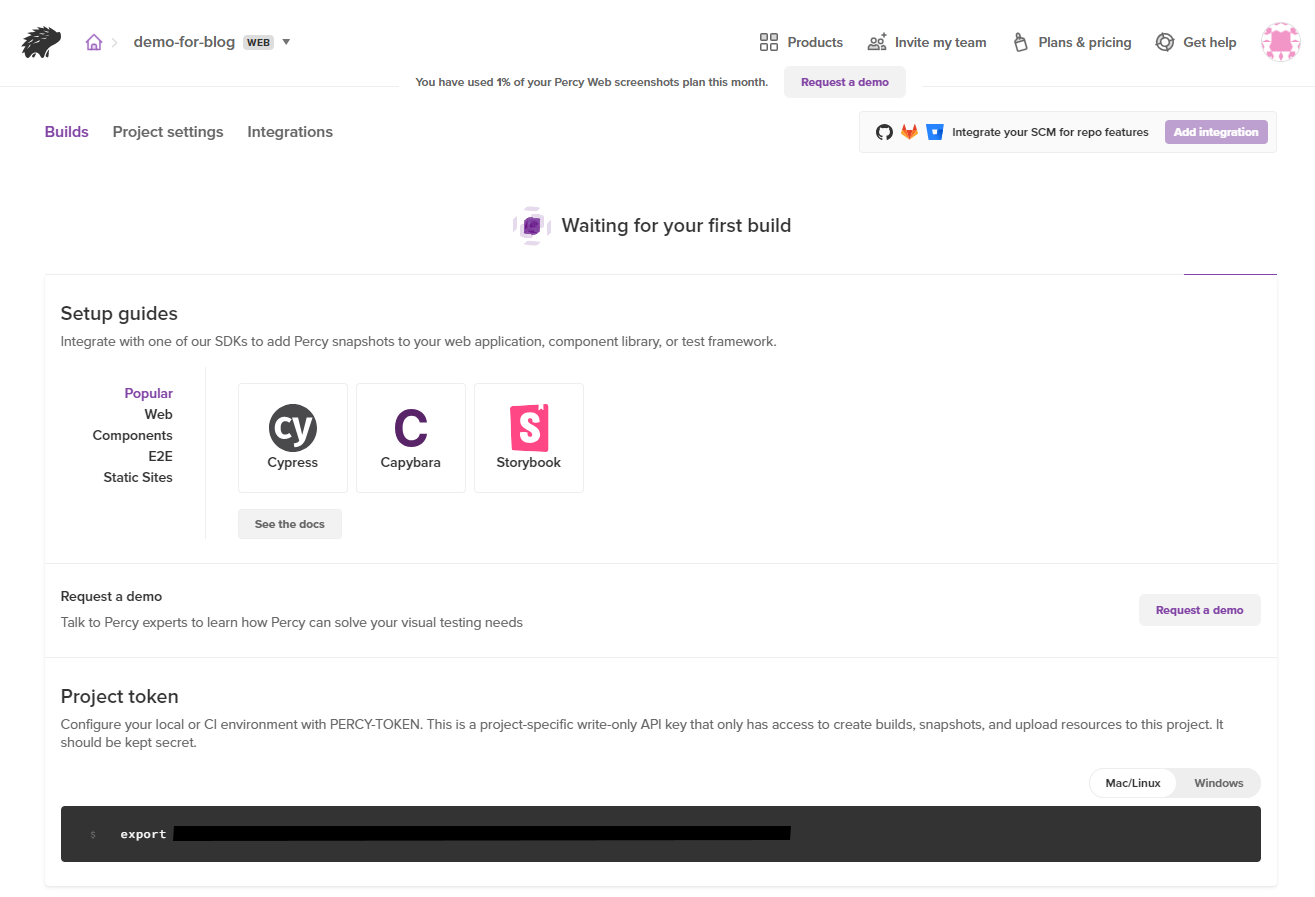
- On your dashboard, create a new web project. See the docs for extra information.
- Make sure to make note of your PERCY_TOKEN, it will be needed later.
Setup Cypress
Percy does make visual testing easy, but it is not a testing framework itself. As a result it must be integrated with an existing testing framework. This is possible with a number of frameworks, but we will be using Cypress. Cypress is an end-to-end testing framework that is fast, efficient and easy to use. Setup Cypress in your project by following the steps below.
- In your project directory, run the following command. For more installation methods and system requirements see the docs.
npm install cypress --save-dev
- Open up the Cypress GUI by running the following.
npx cypress open
- Select 'E2E Testing' when prompted.
- This will bring you to a screen displaying configs, edit them if you wish, then press 'Continue' and the configs will be added to your project.
- Select your browser and press 'Start'.
- If you are new to Cypress, I recommend following their tutorial. It provides quick examples to give you the basics of how it works, which will be helpful when it comes time to write your visual tests.
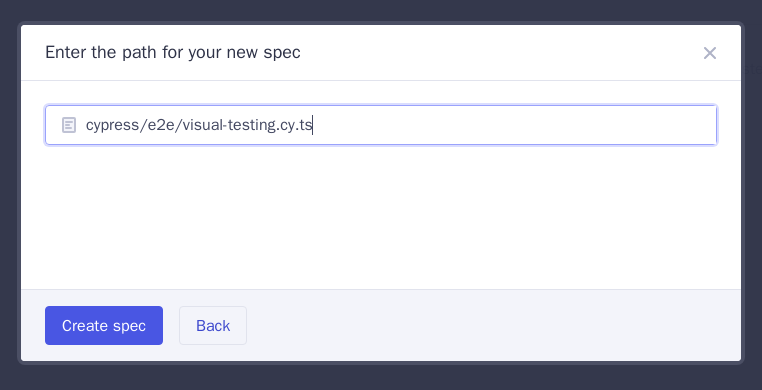
- Select "Create new spec" and give it a name, I used "visual-testing" for mine. Then click "Create spec". This will add the test file into your project. Leave it as is with the demo code for now.
Integrate Cypress with Percy
Now that Percy and Cypress are both setup, it's time to get them working together.
- Add your PERCY_TOKEN from before as an environment variable to your project. This can be done with the following command on Mac and Linux, or by adding the token to your project's .env file.
export PERCY_TOKEN="YOUR_TOKEN_HERE"
- Install Percy dependencies by running the following.
npm install --save-dev @percy/cli @percy/cypress
- If you are using TypeScript, add the following to the tsconfig.json file in your project under compilerOptions.
"types": ["cypress", "@percy/cypress"]
- In cypress/support/e2e.js add the following line.
import '@percy/cypress';
Write Your Visual Test
Now that all the setup is done, it is time to write your first visual test.
- Within your project repository, go to the test file that was created earlier at /cypress/e2e/visual-testing.cy.ts. Remove the default demo code.
- If you are familiar with Cypress, or other end-to-end testing frameworks then these tests will be very familiar to you. Essentially you visit your application using the cy.visit("APP_URL") method, then you can take a snapshot using the cy.percySnapshot("Snapshot Name") method. See the docs for the possible config options on the percySnapshot method.
- To get snapshots of other parts of your application, use other Cypress methods, like cy.get("Nav-Button").click(), to navigate Cypress through your app as if it were a user, and simply take a snapshot when the part of your application your targeting is open.
- A simple test to take a snapshot of the sign in page on an example project is as follows.
describe('Visual Testing', () => {
  it('Captures snapshot of the sign in page', () => {
    cy.visit('http://localhost:3000/signin');
    cy.percySnapshot('Home Page Snapshot');
  });
});
- Once your tests are ready, run the following command to capture the snapshots.
npx percy exec -- cypress run
View Your Test Results on Percy.io
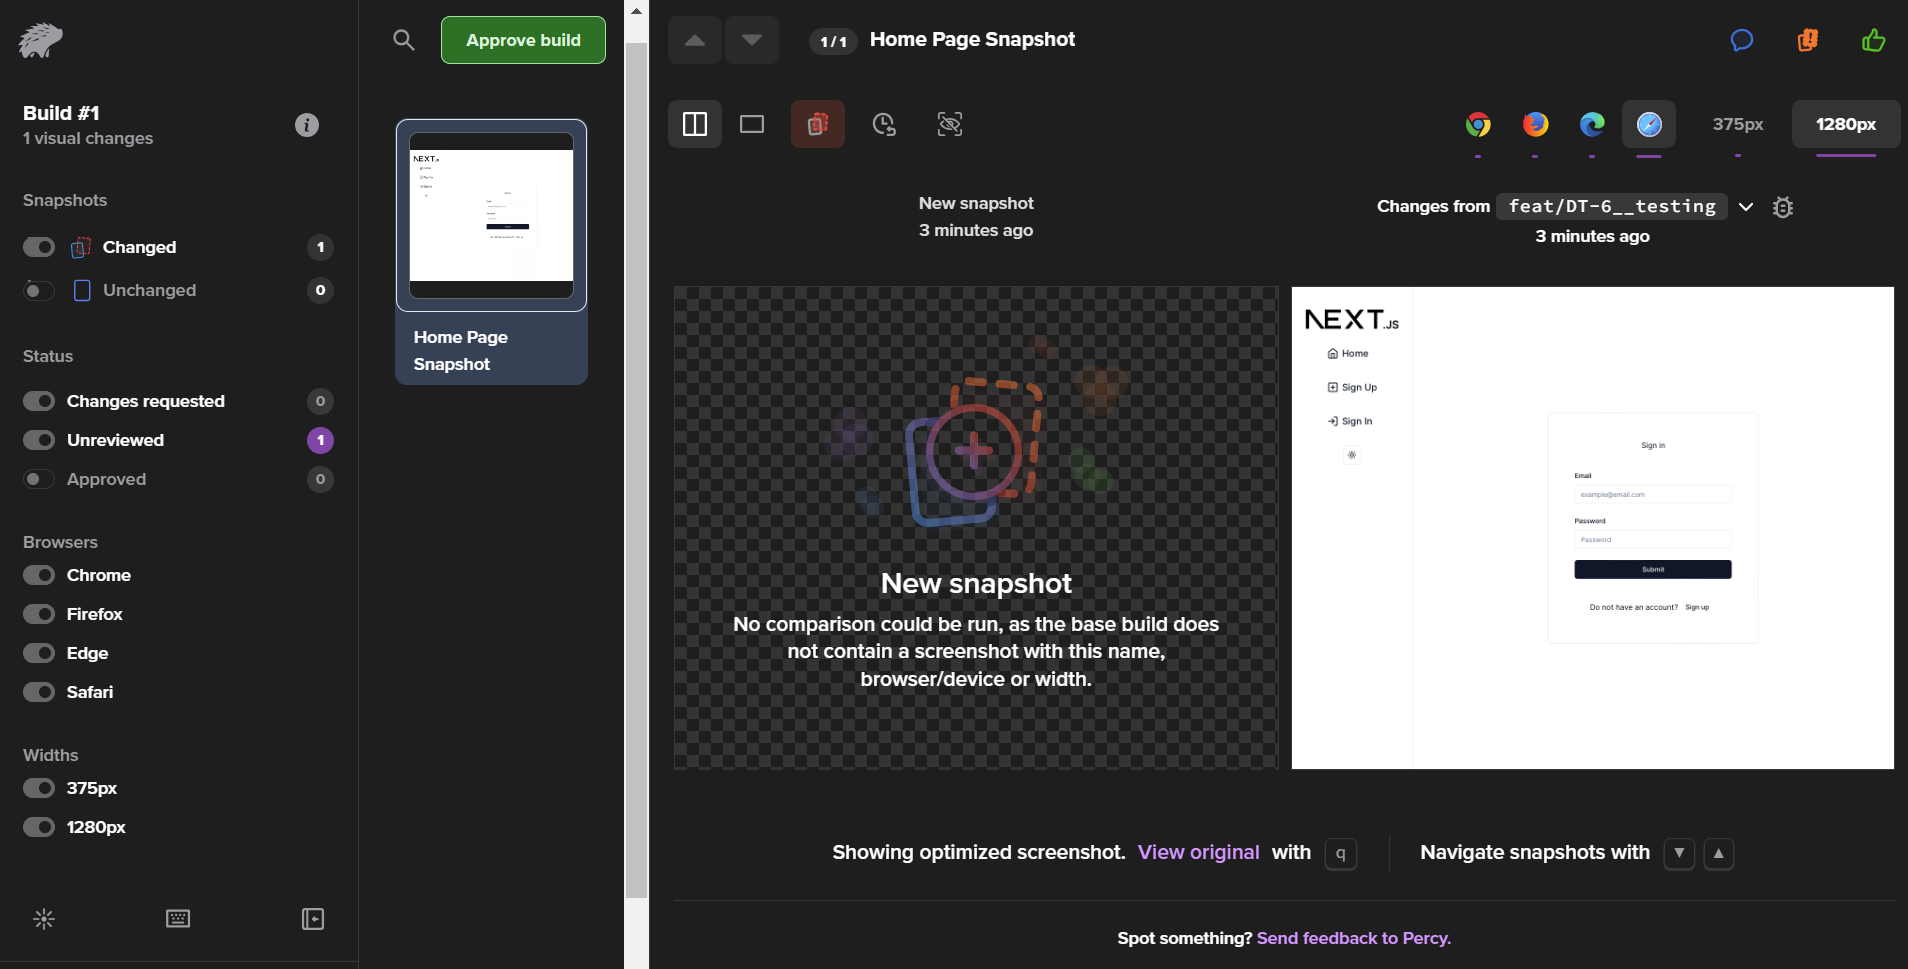
- Upon running your first test, the first build will be created in your Percy project where you can view the snapshots. Percy allows you to view snapshots of your app on various browsers and screen sizes.
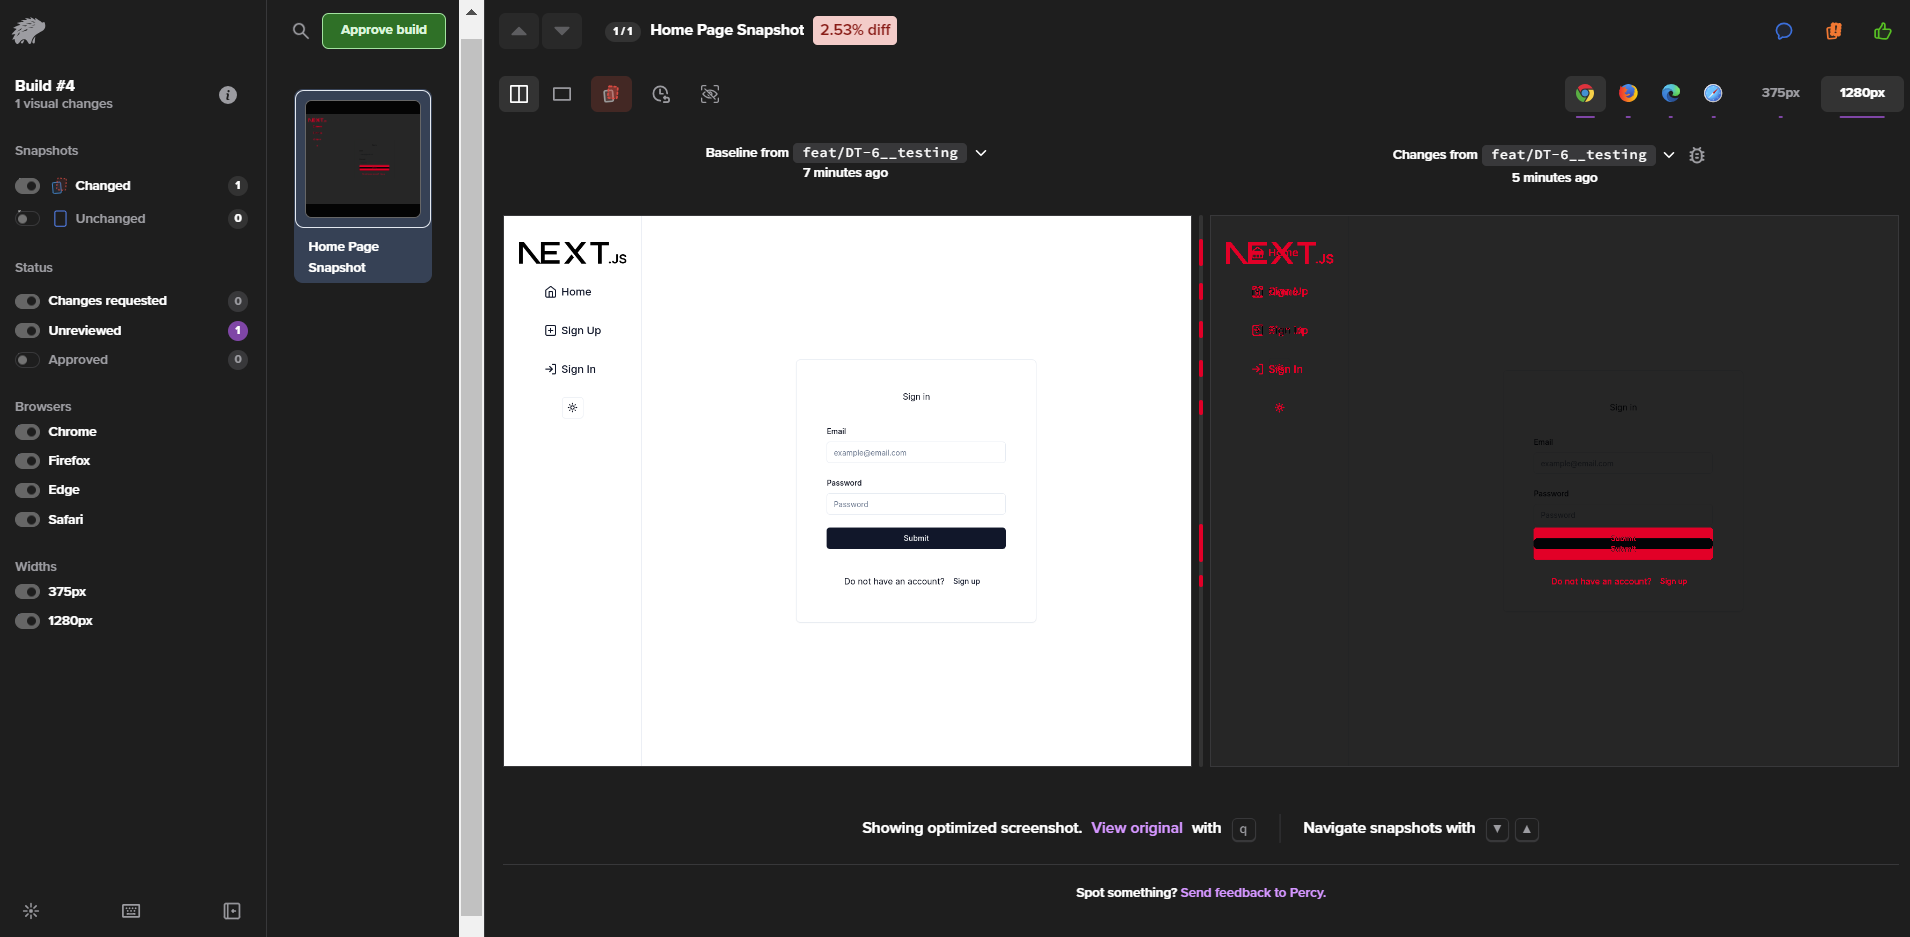
- Next, try making some small changes to your UI. I am going to remove the Next.js logo and the "Do not have an account? Sign up" from the demo. Run the command again to execute your tests. You will see a second build on Percy. Viewing it will showcase the differences in the UI.
Now, as your app grows in size and complexity, you can be confident your UI remains intact as long as your tests are passing.
Additional Documentation