Rancher Extensions


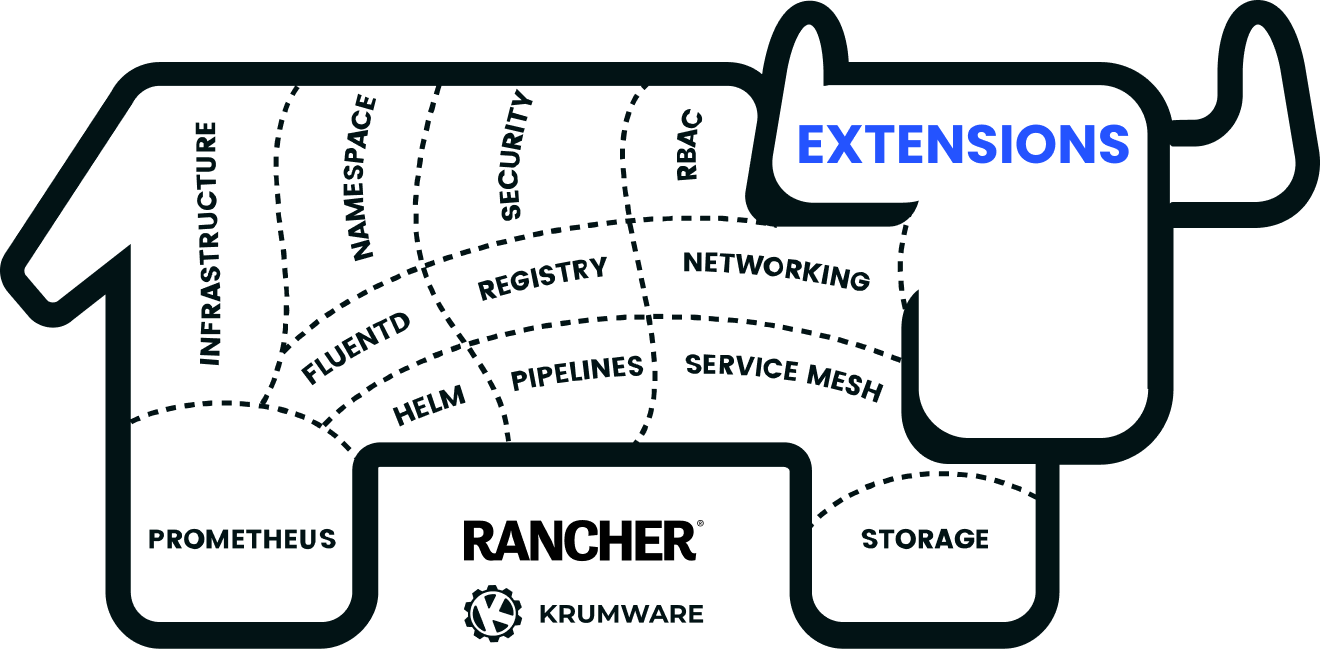
Rancher's new Extensions functionality allows us to build integrated kubernetes application management experiences, which ship with our tools and applications.
Learn how to set up a local development environment for Rancher Extensions, and get started with your own.
Rancher as a Developer Platform
Kubernetes and cloud workload management are (obviously) complicated. To simplify workload management for developers, we at Krum adopted Rancher for all of our software and cloud development projects, effectively making it our Internal Developer Platform of choice.
Rancher gave us a guided and point-and-click way to set up and manage different kubernetes distributions across many clusters, while allowing us to peek under the hood to see how things work. As we began to understand kubernetes, we were able to take risks confidently and modify kubernetes resources directly through the interface. Using the tools provided as opt-ins in Rancher (monitoring, logging, backups, policy management, etc etc) we were able to watch and understand how those changes affected our environment and roll things back as needed.
There are tons of new concepts and tools to learn. Take a look at the recently released Platforms whitepaper from the CNCF App Delivery technical advisory group: https://appdelivery.cncf.io/whitepapers/platforms/#capabilities-of-platforms.
From a learning standpoint, having this type of insight (into a still rapidly evolving kubernetes) continues to be invaluable. It helps us rapidly onboard developers into our provider-agnostic and cloud-native approach, and gives us the tools we need to operate with a high level of cloud maturity (shoutout to the CNCF Cloud Maturity Model: https://maturitymodel.cncf.io/)
What are Rancher Extensions?
Rancher extensions are a new functionality in Rancher (v2.7.1+), which allow developers to interoperate with the Rancher user interface. Extensions can be shipped with applications or standalone.
In fact, a number of other SUSE open-source tools like Fleet https://fleet.rancher.io/ and Harvester https://harvesterhci.io/ already leverage this functionality.
Now we can begin to improve adoptability of our kubernetes tools of choice, by providing an integrated experience in Rancher, through extensions. Developer experience: 🚀
Getting Started
References:
- Rancher Desktop: https://rancherdesktop.io/
- Installing Rancher: https://ranchermanager.docs.rancher.com/pages-for-subheaders/install-upgrade-on-a-kubernetes-cluster
- Getting Started with Rancher Extensions: https://rancher.github.io/dashboard/extensions/extensions-getting-started
To start building a Rancher extension, we need access to a Rancher Management Server API endpoint.
Setting up Rancher
My preference here is to set one up locally on my development machine. (Windows & WSL)
-
Install Rancher Desktop, and configure with additional options
a. If on Windows, enable support for your WSL distribution, in Preferences -> WSL -> {Select your distribution}
b. Preferences -> Container Engine, I use dockerd (moby) for compatibility with the majority of docker-based tutorials online.
c. Preferences -> Kubernetes
select a Kubernetes version compatible with the version of Rancher you will be installing. At the time of this writing, that is 1.24.xx, which is compatible with Rancher 2.7.1d. Preferences -> Kubernetes, Enable Traefik.
Pro-Tip: This will allow us to conveniently use the hostnamerancher.localhost, and Traefik will load balance traffic to our workloads for us, rather than dealing with a port-forward or manually setting up an Ingress. -
Install the cert-manager helm chart into your newly created local rancher-desktop kubernetes cluster.
a. Add the jetstack helm repositoryhelm repo add jetstack https://charts.jetstack.ioa. Make sure to include the CRDs, so that Rancher can generate an Issuer resouce
helm install cert-manager jetstack/cert-manager \
    --namespace cert-manager \
    --create-namespace \
    --version v1.7.1 \
    --set installCRDs=true
b. If completed successfully, you should see the following output
NAME: cert-manager LAST DEPLOYED: Sun Mar 26 12:31:30 2023 NAMESPACE: cert-manager STATUS: deployed REVISION: 1 TEST SUITE: None NOTES: cert-manager v1.7.1 has been deployed successfully! In order to begin issuing certificates, you will need to set up a ClusterIssuer or Issuer resource (for example, by creating a 'letsencrypt-staging' issuer). More information on the different types of issuers and how to configure them can be found in our documentation: https://cert-manager.io/docs/configuration/ For information on how to configure cert-manager to automatically provision Certificates for Ingress resources, take a look at the `ingress-shim` documentation: https://cert-manager.io/docs/usage/ingress/ -
Install Rancher into the cluster
a. First, add the helm repository. Let's use the Rancher-Latest repository to make sure we get an extension compatible version to work with ( > Rancher 2.7.x )
helm repo add rancher-latest https://releases.rancher.com/server-charts/latestb. Next, install Rancher from that repository, and specify rancher.localhost as the hostname value.
helm install rancher rancher-latest/rancher \
    --namespace cattle-system \
    --set hostname=rancher.localhost \
    --set bootstrapPassword=admin \
    --create-namespace
Pro-Tip Reminder: Our hostname used above should be available via https://rancher.localhost, since we activated Traefik in the Rancher Desktop settings.
Setting up the Extension project
Let's move over to setting up the extension project, now that we have a capable Rancher Management Server to work with.
Create the project folder

yarn create @rancher/app my-rancher-extensioncd my-rancher-extension
git init
git add .
git commit -m "initialize extension from template"
git branch -M main
git remote add origin https://github.com/krumIO/my-rancher-extension.git
git push -u origin mainCreate the extension
yarn create @rancher/pkg my-extension
Preparing to Run
Now that we have our prerequisites knocked out, we may need to manually add an entry to the hosts file, to help the development process find the API server.
Note: If you are running Rancher Desktop with Traefik enabled, then rancher.localhost should be available in your browser. If so, go ahead and skip to the next step.
Open your hosts file in your terminal, using
sudo nano /etc/hosts
Add 127.0.0.1 rancher.localhost to your hosts file.
Your file may now look similar to this:
# This file was automatically generated by WSL. To stop automatic generation of this file, add the following ent$
# [network]
# generateHosts = false
127.0.0.1       rancher.localhost
127.0.0.1       localhost
127.0.1.1       MY-COMPUTER.     MY-COMPUTER


# The following lines are desirable for IPv6 capable hosts
::1     ip6-localhost ip6-loopback
fe00::0 ip6-localnet
ff00::0 ip6-mcastprefix
ff02::1 ip6-allnodes
ff02::2 ip6-allrouters
Running the extension and dashboard
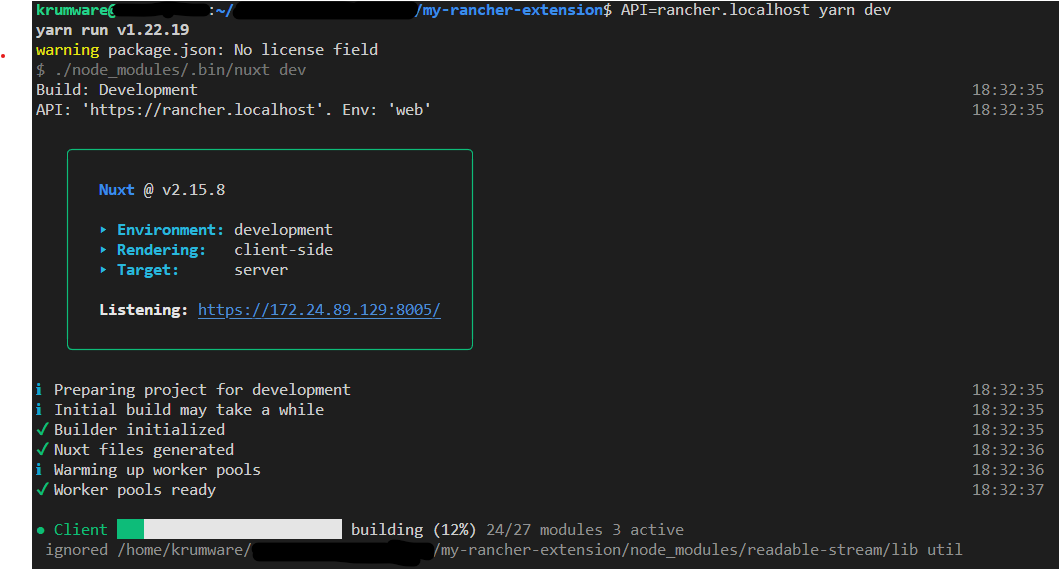
The extension project is actually going to run a complete version of the Rancher dashboard project, with our extension files already added. We need to tell our project where the Rancher API is located. Here, we just need to specify the hostname, the run configuration will add the https:// protocol and /v3 folder for us.
Let's give it a try. Run the following command, which specifies the environmental variable for the API server in-line, and calls yarn dev.
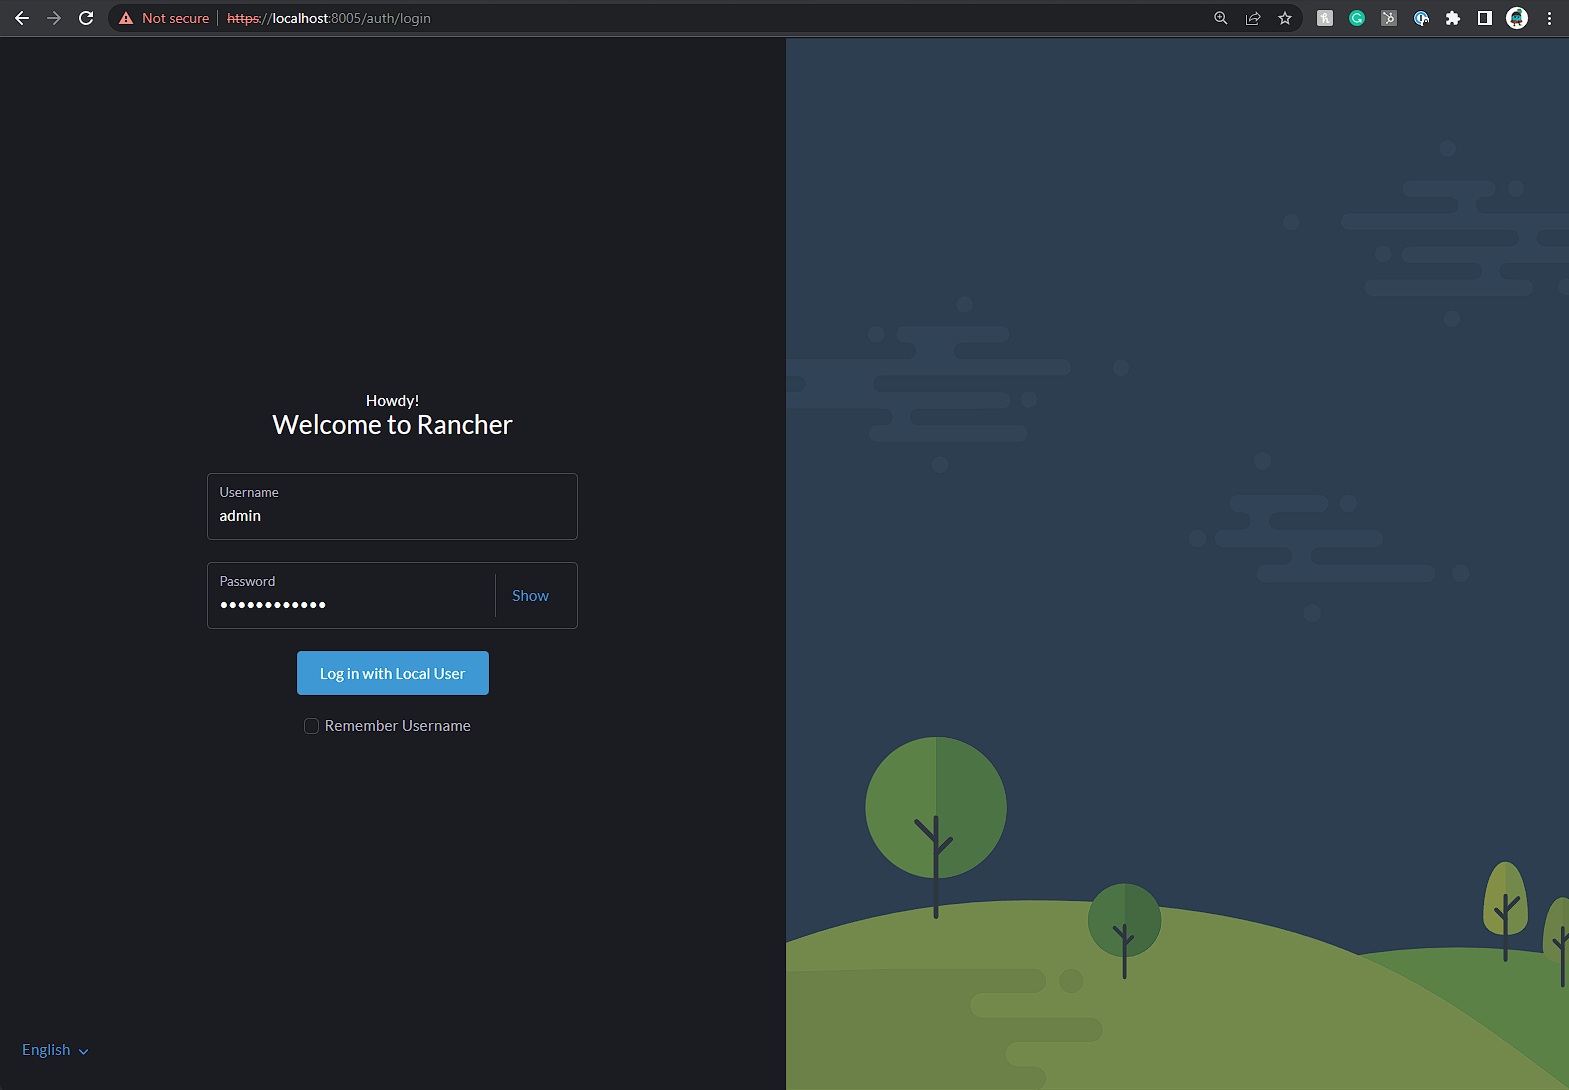
API=rancher.localhost yarn devOpen https://localhost:8005 in your web browser, if the build hasn't kicked off yet, it should now. This is what the build process looks like:
In your browser, the Rancher Dashboard login screen will appear if all has gone correctly.
Making the extension functional
Add an extension configuration file. Place the following contents in the
export function init($plugin, store) {
  const { product } = $plugin.DSL(store, $plugin.name);

  product({
    icon:                  'gear',
    inStore:               'management',
    removable:             false,
    showClusterSwitcher:   false,
  });
}
In index.js, replace the file contents with the below
import { importTypes } from '@rancher/auto-import';
import { IPlugin } from '@shell/core/types';

// Init the package
export default function(plugin: IPlugin) {
  // Auto-import model, detail, edit from the folders
  importTypes(plugin);

  // Provide plugin metadata from package.json
  plugin.metadata = require('./package.json');

  // Load a product
  plugin.addProduct(require('./config'));
}
The extension build process will auto-rebuild, and you can refresh your browser window. Here, we'll see that the configuration helped the dashboard show the extension in our side-bar, with a gear icon.
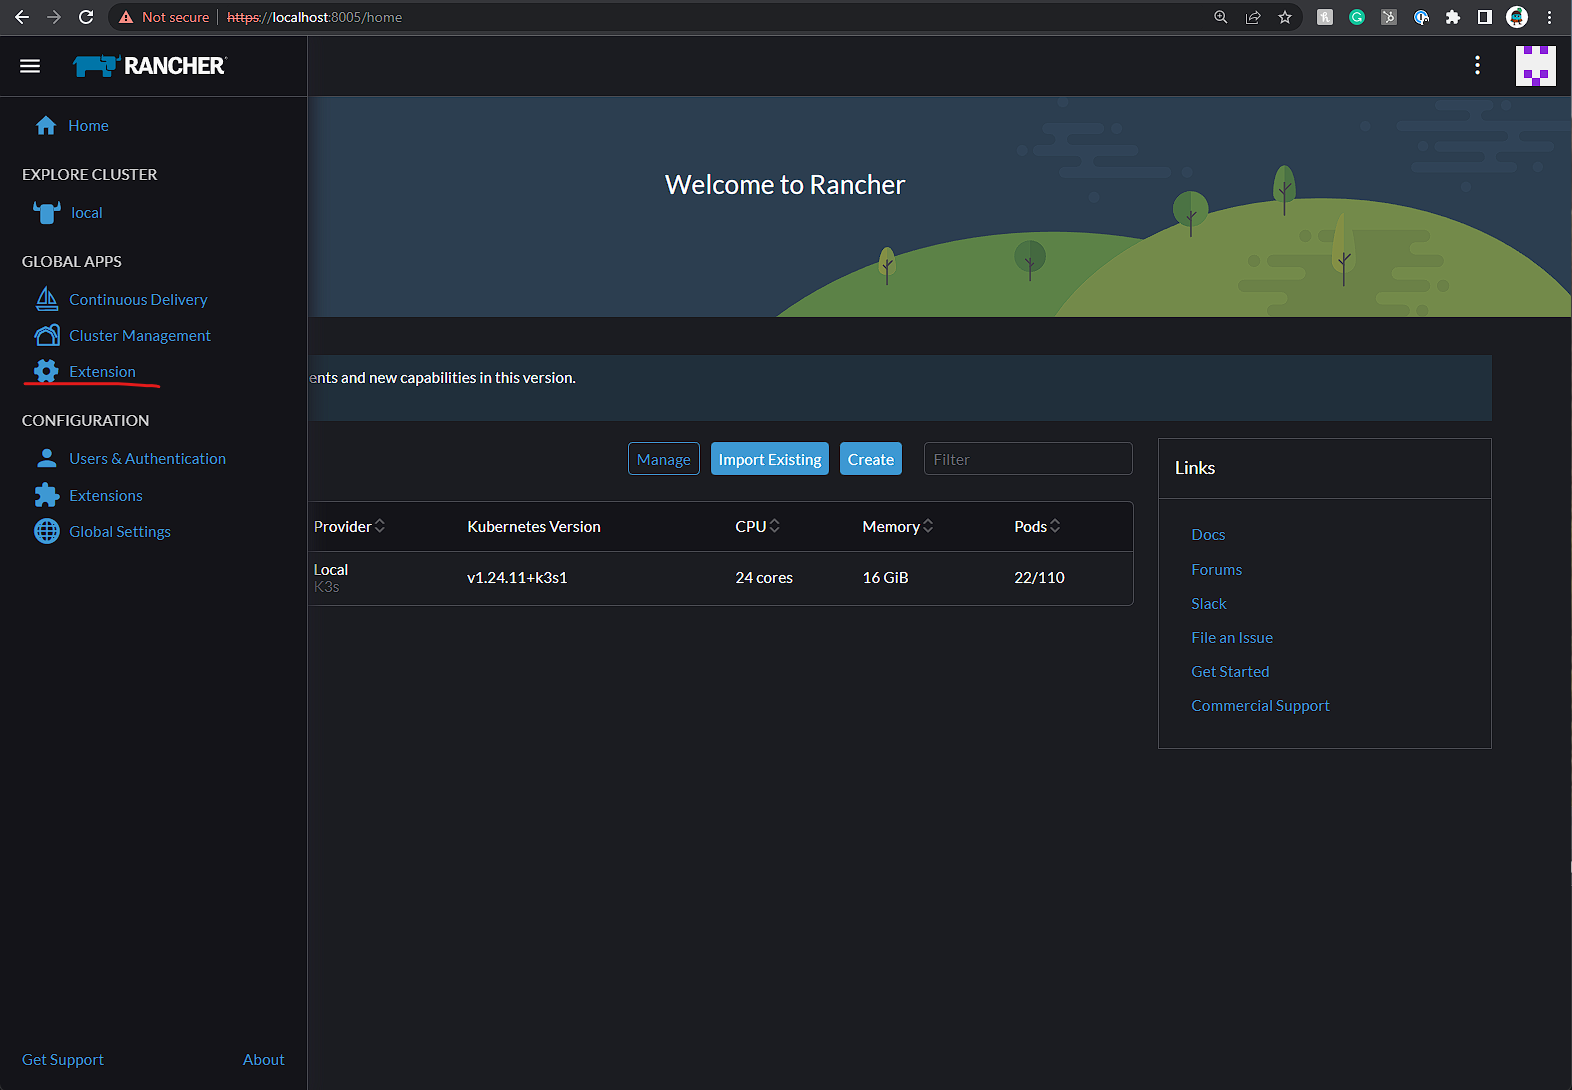
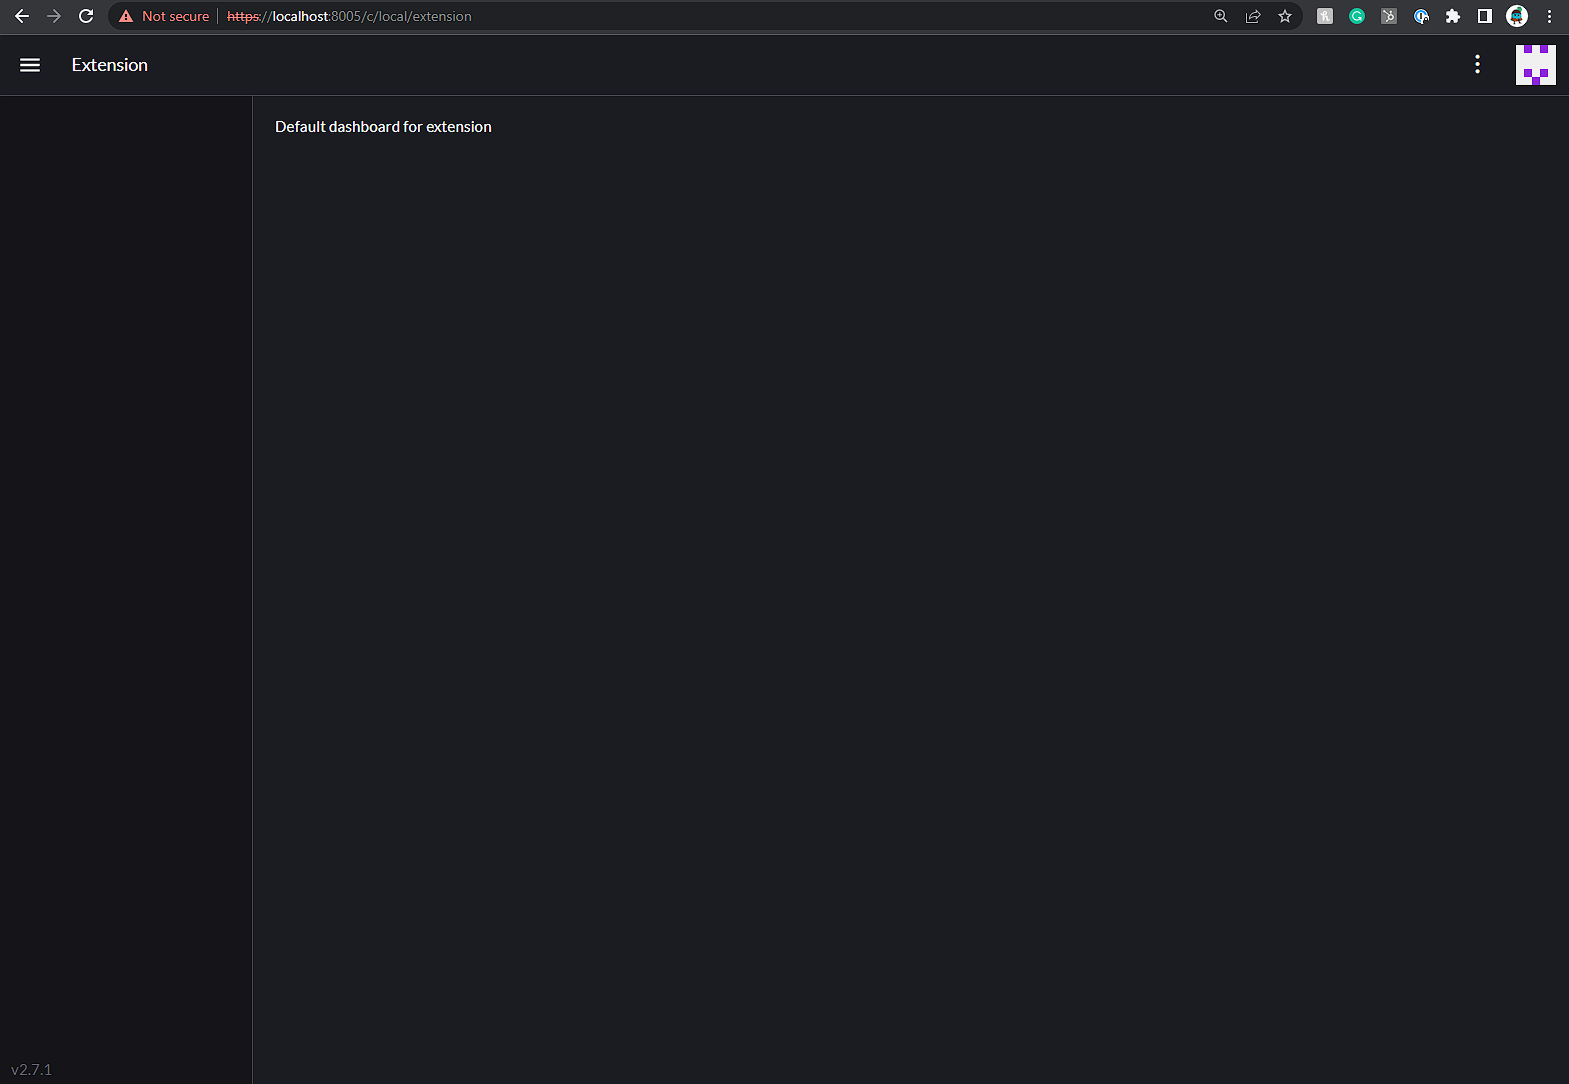
Our extension now also has a "dashboard" with very basic text content.
For extra examples, try cloning the UI Plugin Examples repository: https://github.com/rancher/ui-plugin-examples. This repository has several great examples of how to use the new Extensions API.
Congratulations! You're ready to begin developing extensions for Rancher.
Not ready to do this on your own?
If you're not ready to do this on your own, reach out to us! Krumware specializes in building integrated solutions that drive developer enablement, and can get you jump-started with your own extension or help you push through other kubernetes implementation challenges.
Send us a note at https://www.krum.io/contact and we'll get back to you right away!
Stay tuned for further guides for building advanced functionality into our extension.